Habit trackers are some of the useful tools that you see often used within the Bullet Journal. Habit trackers help you establish and form the habits you desire by tracking them on an hourly, daily, weekly or monthly basis. A habit tracker is not just a tracking tool you can mark off as you go, it is also a visual reminder of the activity needed to be done, as well as a reward system that can show you how consistent you were and how far you have come.
Habit trackers come in many different shapes and forms. You can purchase pre-designed trackers, but the best way is to create a habit tracker that fits your needs and preferences just the right way. Here are the steps to create a perfect habit tracker just for you.
Decide on things you want to track
What is the habit you want to build? What is new something you want add into your life and see how it changes over time? What is the health, life, work, spirituality, family or creativity-related improvement or process you want to monitor to find common threads, improve on what works and drop what doesn’t?
Decide on the thing, process, habit or tradition you want to keep track of. You can focus on one or many. For example, you can decide to track how many glasses of water you drink, how many hours you sleep, the days you have worked out and how many books you have read or words have written.
One thing to keep in mind when choosing what you will be tracking is not to go overboard and choose too many things. You don’t want it to become so overwhelming that you are discouraged to keep up with it.
Start with one habit and, once you got the hang of tracking it regularly, add another thing to track and so on.
Decide on the frequency of the habit tracking
Not all habits and traditions have same frequency. Some might be happening every day, multiple times a day (like tracking sleep, glasses of water a day), some happen a few times a week (working out, reading a book, face masks), some take place on a monthly basis (facials, ovulation, backing up your electronics, house cleaning, watering plants) and some happen just a few times a year (dental appointments, car oil changes, insurance renewals, deep clean for the house).
For the habits you have chosen, decide how often you will be tracking them. For the habits you are trying to build, decide on the number you would like to ultimately arrive to (for example, currently you drink 1-2 glasses of water a day and you want to build up your habit to 8 glasses a day or you want to get to a point where you work out 3 times a week, an hour each time).
Decide on the length of habit tracking you want to do
Depending on how often the habit, tradition or event happens, you want to decide how long you’ll be tracking it for. If something you are tracking only happens a few times a year, a year-long tracker will be your best bet. This kind of tracker can be placed at the beginning of your yearly planner, next to the year-at-a-glance calendar.
If something happens once a week or so, go with a monthly or a 6-month tracker and so on. That type of tracker can find its place right after your Monthly Spread.
For habits that are daily, you can add a tracker to a weekly or a daily spread – if it’s a tracker that tracks your meditation practice, or a number of alcoholic drinks a week, it will be perfect on a weekly spread, but if you are tracking something like number of glasses of water a day or times a day you go on social media, you can make it part of your daily spread (even though making it a weekly spready will give you a better insight on the progress you are making).
Decide on the style of the tracker and how it will be filled in
Once you have decided on what you are tracking and how often, decide what style of tracker is more appealing to you and what style will do a better job at tracking this particular habit. There are many different styles to choose from that can make your tracking practical and fun.
Also, decide on how you will be marking the completes when Done or not Done: a dot, an X, bubble it in, fill in with a certain color, placing a small sticker vs strike through, marking incompletes with an X, different color or left blank.
Here are some of the styles you can consider:
- A simple vertical chart – it can be made out of vertical rows of squares or be as simple as two lines crossing each other. You can mark things in there with a simple X when completed and a dash (-) or a blank when not
- A simple horizontal chart – similar to the vertical chart, it can be made of simple lines laying across the page or be more elaborate and have each tracked spot outlined. Just like with a vertical chart, you can track the items or habits in there with an X or a * or a dot, you can color it in, or use diagonal lines to create a pattern over time. Leave the spaces blank when the habit or event was skipped
- A tracker in a form of a mini-calendar – this type of tracker is very compact and is great of the types of habits or events that happen a few times a week or month. The date when the event took place can be circled, bubbled in, crossed out or colored with a pretty highlight, whatever works best for you and your planner
- A circular/mandala-style tracker is a bit of a challenge to draw, but it has a very unusual feel and is very pretty when filled in using complimenting colors. You can use this type of a tracker to track the weather, your mood, your migraines or any type of daily happenings that can be color coded. This tracker creates a great at-a-glance tracker that you can asses at the end of the month as it will give you a visual snapshot of how your month went
- A fun, image or cartoon-based tracker – these are the trackers that are fun and practical at the same time. You can draw a jar with 30 coins inside and color each coin as you deposit money into your savings account. You can draw a tree with 100 leaves and color in each leave as you go on a jog. You can draw a shelf with books and color in each book as you complete another read.
Decide to track separately or combine into one
Finally, before you get into all the drawing and coloring, decide how your tracker will be playing together.
If you are only tracking one thing, you are good to go, but if you are tracking several things, you will be doing yourself a favor by placing them in a place where they are easy to access and you don’t have to flip through five places to find each of the trackers. Look at the trackers you decided on and see if you can place them on a same page or even combine into one larger tracker.
If you find that you have 5 things you want to track on a weekly/monthly basis and they all are simple vertical or horizontal graphs, combine them all together into 1 master tracker that has a line for each of the habits while having a column for each date of the month.
If you see that you have a few habits that are all mini-calendars, dedicate one page where you can fit 4 to 6 mini calendars and refer to this one page every time you need to highlight or bubble in the thing you are tracking.
Assemble the journaling tools and supplies you might need
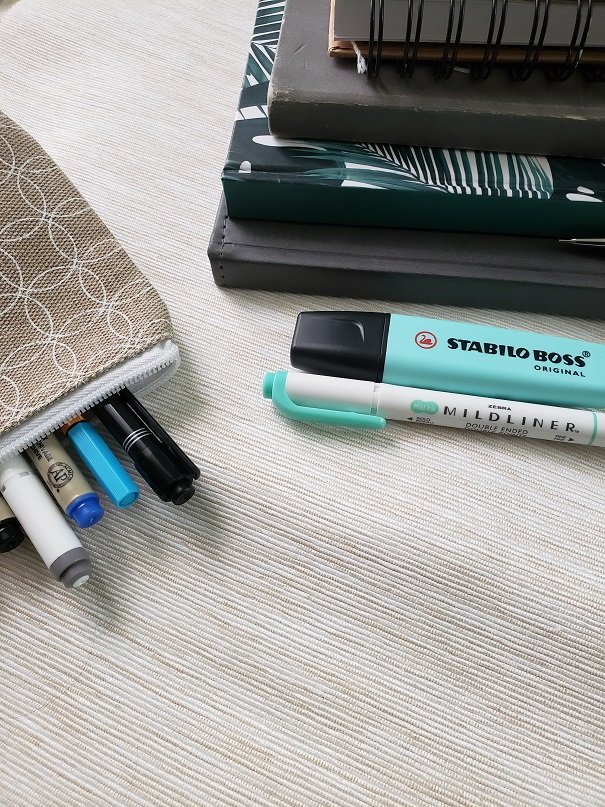
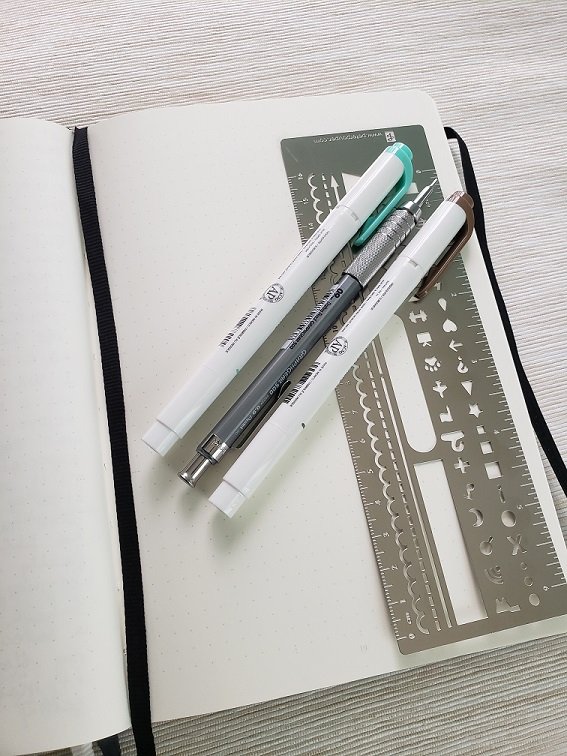
And now for the really fun part – you get to play with all your journal supplies! Gather together all the things you need or might need to draw, fill in and measure your new tracker: pencils, thin felt-tip markers, highlighters, rulers, compass/protractor, stickers/glue/tape and so on.
You can grab some pretty ephemera to embellish your finished tracker or even things like water colors or pastels or washi tapes. It’s your tracker, you will be looking at it often, and you want to make it a pleasant experience.

Draw out your tracker/trackers freehand or using bullet journal tools/rulers
After all the careful planning and consideration, it’s time to create your tracker.
If it’s you first time or few, I suggest starting with a pencil and a ruler (or a protractor if you are working with circular shapes). Place the dots where you want your tracker to be located, count out the spaces and, using a ruler, draw up straight lines for your headers, columns and borders. With a pencil, write in the titles of the things you are tracking, dates, months or days of the week.
If you have a steady hand or like the look of hand-drawn, imperfect lines, draw out your tracker by hand.
Once you are happy with how everything looks, use darker pens or thin felt-tip markers to go over the lines and letters you have created so you tracker is crisp, clearly visible and ready to go.

Decorate your tracker using pencils, markers, stamps, stickers or washi tapes
Once the body of your tracker is complete, you can decorate it and embellish it however your want. You can leave it just as it for a minimal feel, or you can add touches of color with highlighters.
You can also go all out with washi tapes, water colors, photos, stickers and inspirational quotes – anything that makes you excited about your new tracking activity.
Note the page number(s) for each tracker in the Bullet Journal Index
Now that your tracker (or trackers) are in place, don’t forget to go to the Index page of your journal and note the page (or pages) numbers for each tracker and what type of tracker it is.
This will help you to access the tracker when you need and also help you when you want to look at those trackers in the future if you are reviewing your past bullet journals.
Use your habit tracker consistently
Of course, the most important thing about the habit tracker is to actually use it! No matter how clever, pretty or embellished your habit tracker is, if you don’t use it consistently, it loses its meaning.
The goal of a habit tracker is to help your stick with a habit, see your progress (or lack thereof), spot the trends that can help you get better at what you are tracking, become more mindful about things you are doing and so much more.
All of these benefits can be accessed only of you use your habit tracker on a regular basis. I guess you can say that using your habit tracker is the first habit you need to form to be able to tackle others.
Other tips for habit trackers
- As dot grid journals often vary in size and number of dots per page, when you start your bullet journal, note down how many dots (or squares) your pages have across and top to bottom. This will help you when you design your tracker layout. When you have this count, you can decide how many spaces each column or row will take or how many habits can fit into each tracker, etc. The latest Bullet Journal design offers you helpful counts and measurements as the apply to its specific size and dot count on the inside of the front cover.
- Once you have created a tracker that you are really happy with and find yourself using over and over again, consider drawing it up on a separate piece of dot paper and scanning it in or running through a copier and onto a sheet of sticker paper. This way you can reprint your ideal tracker design whenever you need and stick it into your journal instead of drawing it out every time.
- For a cohesive look, decide on a set number of colors/markers/highlighters you use in your journal and use those same colors in your trackers – be it for its design or for coloring in the completed tasks. This will make your tracker fit right in with the rest of your journal and make it easier on you when you are designing the tracker.
- If you find yourself not using the tracker or not finding tracking that particular thing helpful, feel free to drop it or replace it with a different design or goal. The tracker is there to help you and you don’t want it to be just another chore to do. If you feel overwhelmed by all the things you are trying to track, scale down to just one or two habits and get consistent at tracking those. Once you get a hang of it and see the benefit in what you are doing, add in another habit and stay with it for a while before you add in additional ones.
- If after trying to draw your own trackers you find that you are too intimidated by the process or spend too much time doing it, consider finding and purchasing pre-made trackers on places like Etsy. You can buy the trackers that are already printed for you on a sticker paper, or you can buy the downloadable designs that you can print on a regular paper and glue or tape in, or print on a sticker paper, cut out and stick into your journal. You can always embellish these trackers with your own colors, stickers and washi tapes for that custom look.
A habit tracker is a useful tool that can help you with building out a great habit, spotting trends in your life and opening your eyes on things you have never noticed before. Habit trackers can be simple and complex, clean lines and elaborate. The most important thing is for the habit tracker to be useful and easy to use and help you become the version of you that you want to be.


